
> MAKING HOOKS
> MAKING A LADDER > MAKING BASKETS MUSEUMS LINKS ABOUT ME
Making small hooks is an interesting little job in ship modeling and serves as a good learning tool for making other sorts of iron work.
| Photo 1: These are the tools you'll need (from left to right): a pair of round nose pliers, a pair of flush cutters, and a pair of smooth-jaw, needle nose pliers. Also shown is the straight brass wire used to make the hook. You'll also want a small, flat file. Note: the squares on the graph paper are 1/5-inch wide (that is, 5 squares to the inch). |
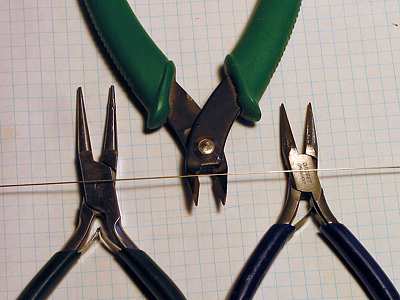 |
Photo 2: Begin by forming the eye using the round nose pliers. |
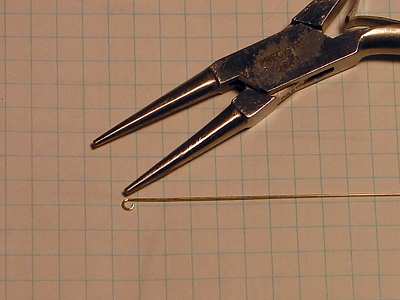 |
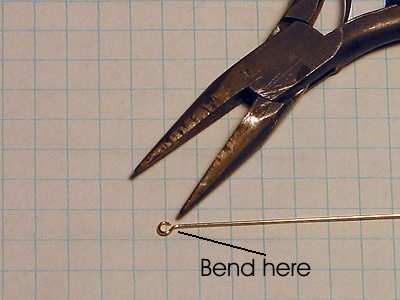
Photo 3: Use the needle nose pliers to bend the shank of the hook backwards |
 |
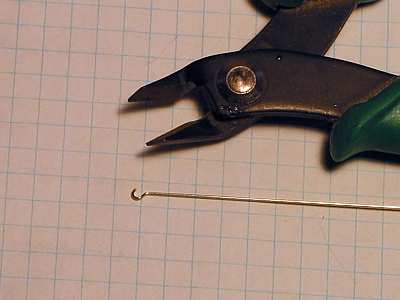
| Photo 4: Cut about 1/4 of the eye off the end using flush cutters |
 |
| Photo 5: Close up the eye to make it smaller using needle nose pliers. |
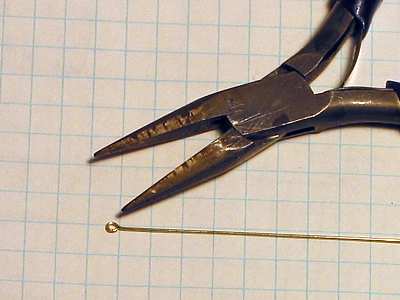 |
Photo 6: Form the hook using round nose pliers |
 |
Photo 7: Use the flush cutters, held at an angle, to cut off the end of the hook |
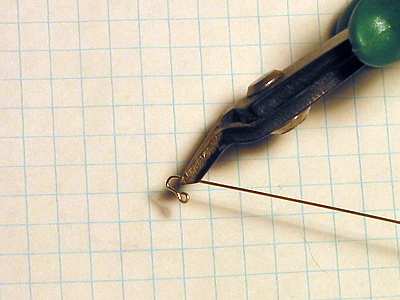 |
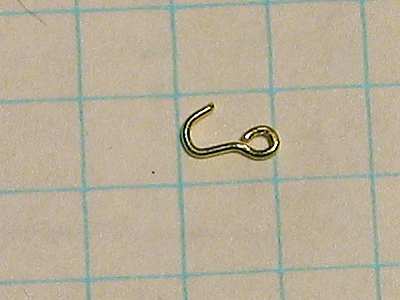
Photo 8: Shown here is the hook after its been cut off. It will require a bit of final shaping. You may also want to file the end of the hook to make it a bit sharper |
 |
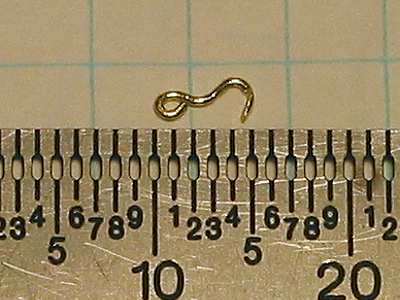
.Photo 9: The completed hook. Of course, the hook will need to be blackened. |
 |
Copyright © 2021 - John H. Earl
All Rights Reserved.
Problems with the site? Contact the Web Master
Last Updated:
April 3, 2021